


How to Fix the Electronic Control Board for a Dryer When Your Clothes Come Out Wrinkled
If your clothes are coming out of your dryer wrinkled when they shouldn’t be, this might be an issue with your dryer’s control board. The control board controls the overall function of your dryer, and if your clothes are still coming out wrinkled when a cycle is complete, there may be an issue with how the control board is communicating with other parts. The control board is a processor that acts as the dryer’s brain, controlling the core functions of the appliance. If there is an issue with the control board within your dryer, it can be a sign of other issues as well and can pose a safety hazard if the control board reads temperatures incorrectly. We have put together a step-by-step diagnostic guide with videos and 3D diagrams to help you figure out not only where your control board is but also whether it’s the cause of your problem – so you can get wrinkle-free clothes as soon as possible!
FIX TIP
What is an Electronic Control Board?
The control board in your dryer controls most, if not all, functions within your dryer – from when to start a specific cycle to how long to continue that cycle. If the control board is at the point of needing to be replaced, it can cause other parts to not operate the way they should.
Where is the Electronic Control Board Located?
The control board is normally located where the user interface is on your dryer, which is usually at the top of your dryer near the back. It can also be at the front of your dryer, above the tub door.
General Location of the Electronic Control Board in a Dryer

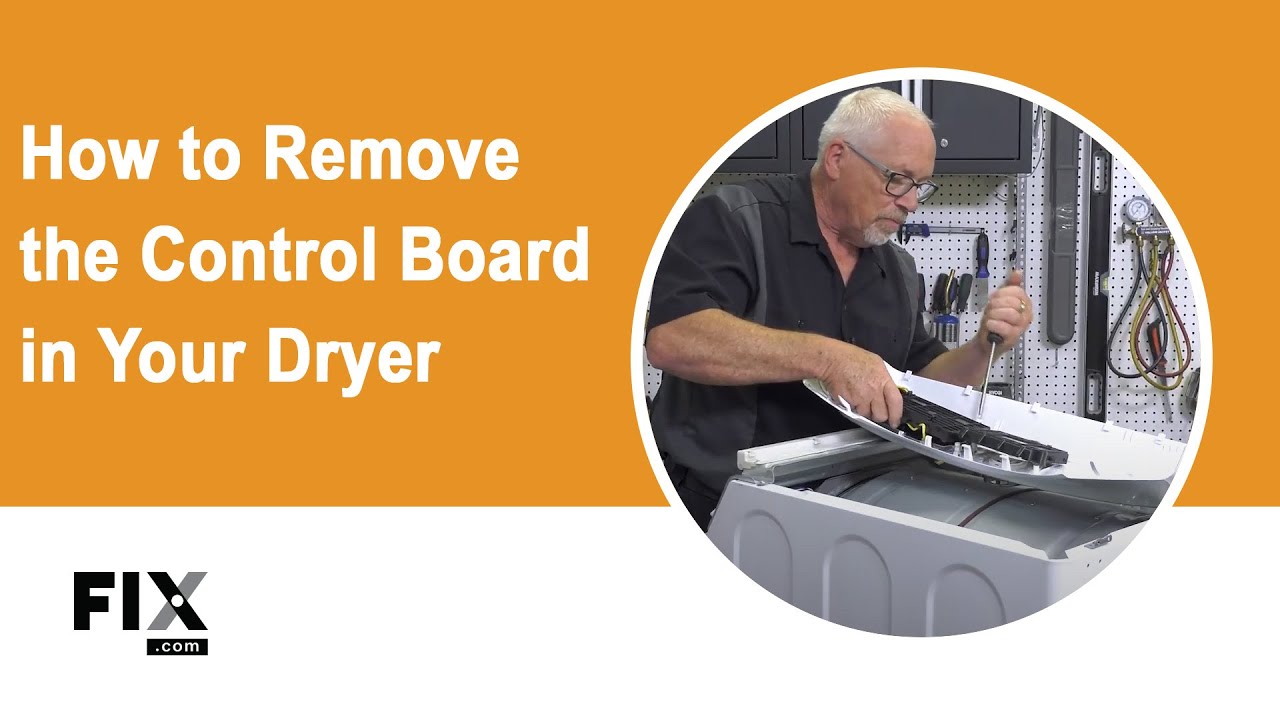
How to Access, Remove, and Inspect the Electronic Control Board in a Dryer
- Before beginning any repairs, make sure that if you are getting any error/fault codes from your dryer, that you find out what they mean using the user manual.
- Start off the repair by removing any lint from the lint screen on your dryer – you might need to remove the lint screen to get full access to the top compartment of your dryer.
- Find your dryer’s user interface and, using your owner’s manual, identify how the dryer is configured so you can access its interior. It’s recommended that you use the appropriate screwdrivers/wrenches to slowly disassemble these necessary parts.
- Once you’ve located and gained access to your dryer’s control board, you’ll need to identify how it’s held within your dryer, such as by securing bolts and wires.
- Unscrew the plastic housing from within the machine and disconnect the connected wires, after remembering to take pictures.
- You can now remove the control board for inspection and replacement.
- Unfortunately, you won’t be able to just see by looking whether the control board is damaged or malfunctioning; you will need to rely on the fault/error codes and/or indicator lights from your dryer.
- If your dryer doesn’t have indicator lights or fault codes, you will need to have your dryer inspected by a factory service technician.
How to Test an Electronic Control Board
It is recommended that you diagnose your control board with the help of a technician as it is complicated to do so on your own. If you suspect that your control board is faulty, your dryer may give you an error code. Be sure to check your user manual to understand what those codes mean.

How to Install a New Electronic Control Board
- Secure your new control board within the plastic housing of the original board if necessary. If your control board doesn’t have a housing, simply secure it how it was previously.
- Connect the plastic housing to the machine using the wires and whatever screws were originally holding it in place.
- Secure any other screws or wires that were originally disconnected while slowly reassembling your dryer’s top and/or front portion.
- If your dryer’s lint screen was removed, reinsert it (after cleaning it, of course).

Next: Troubleshooting the Moisture Sensor Board
Go To Main Page: Clothes Come Out Wrinkled