


How to Fix the Moisture Board for a Dryer When Your Clothes Come Out Wrinkled
If your dryer loads are coming out excessively wrinkled and damp, it might be an indication of an issue with your dryer’s moisture sensor board. The moisture sensor board communicates with the control board by relaying information about the overall load’s moisture level. If the moisture sensor board is bad or malfunctioning, it can lead to your dryer detecting an incorrect level of moisture at the incorrect time. When this happens, the cycle doesn’t do what it’s supposed to do, that is, it doesn’t dry your clothes properly or make them come out crisp and wrinkle-free. Moisture levels can be a prime factor with wrinkled clothes; controlling moisture levels is a key function of this part, so it is important to check it if you can’t get your clothes to come out unwrinkled.
What is a Moisture Board?
A moisture sensor board is a device within your dryer that detects the overall moisture level from the clothes in the current load during the drying cycle. When the clothes pass the moisture sensor bars, it sends a signal to the moisture sensor board, which communicates with the control board during the drying cycle as to when the cycle should end or change.
Where is the Moisture Board Located?
The moisture sensor board is usually located close to the control board or timer of your dryer. Be sure to refer to your user’s manual for any diagrams or further instructions on locating your moisture board.
General Location of the Moisture Board in a Dryer

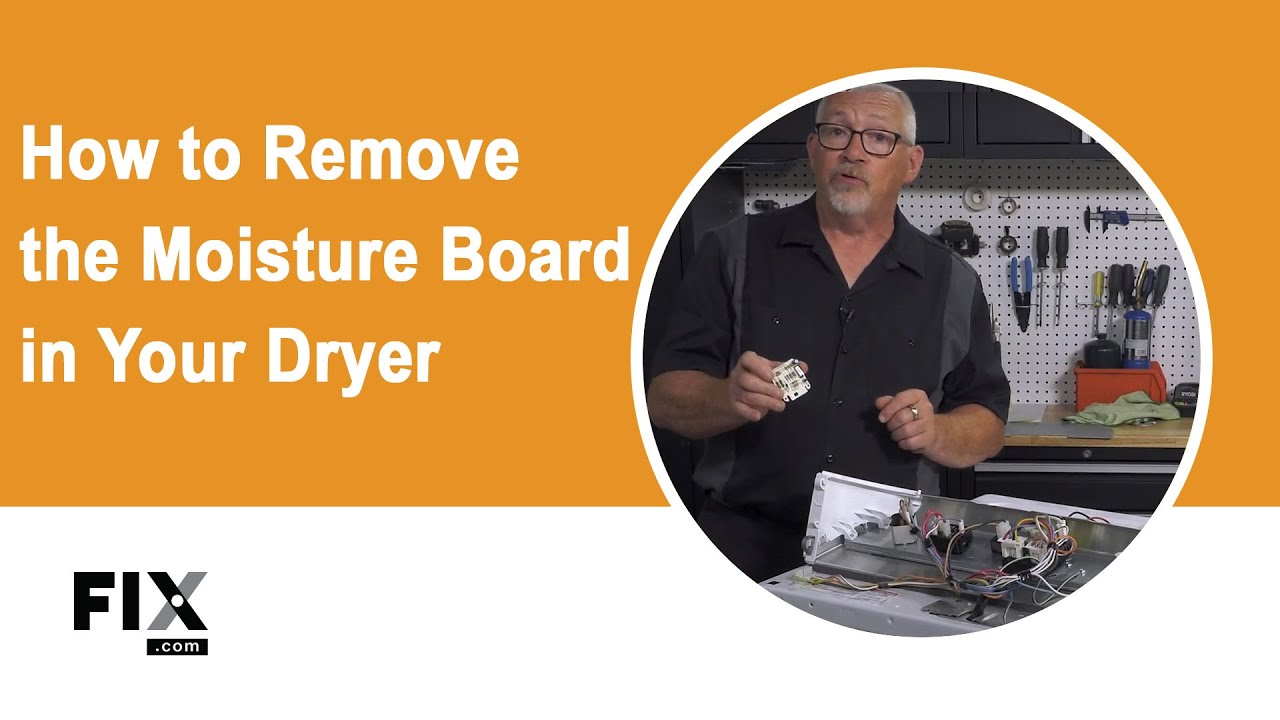
How to Access, Remove, and Inspect the Moisture Board in a Dryer
- First, disconnect your dryer from the power outlet.
- Using either a putty knife or the appropriate screwdriver/wrench, gain access to the timer or control board of your dryer. This may be on the top or front of the machine, so only disassemble as much as you need to get access to the moisture board.
- Once you’ve found your dryer’s timer or control board, you should find the moisture sensor board in the same location. Disconnect any wires, then it’s just a matter of unscrewing or wiggling it to remove it.
FIX TIP
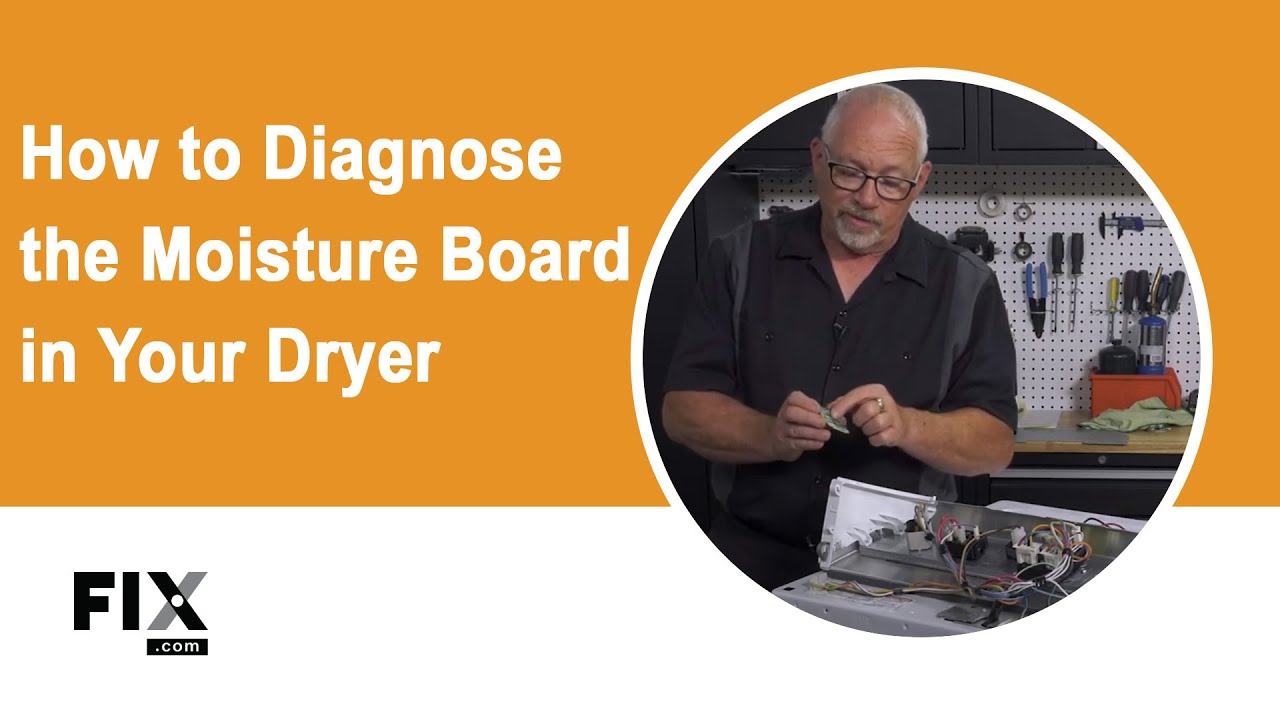
How to Test a Moisture Board
You would need your wiring diagram to understand the different components that make up your moisture board. There is also a chip on the board that you cannot diagnose. A simple way to deduce that your moisture board is faulty is by seeing if your timer advances during operation. If it doesn't, you would want to inspect the sensor bars. If the problem persists, your moisture board may be broken.
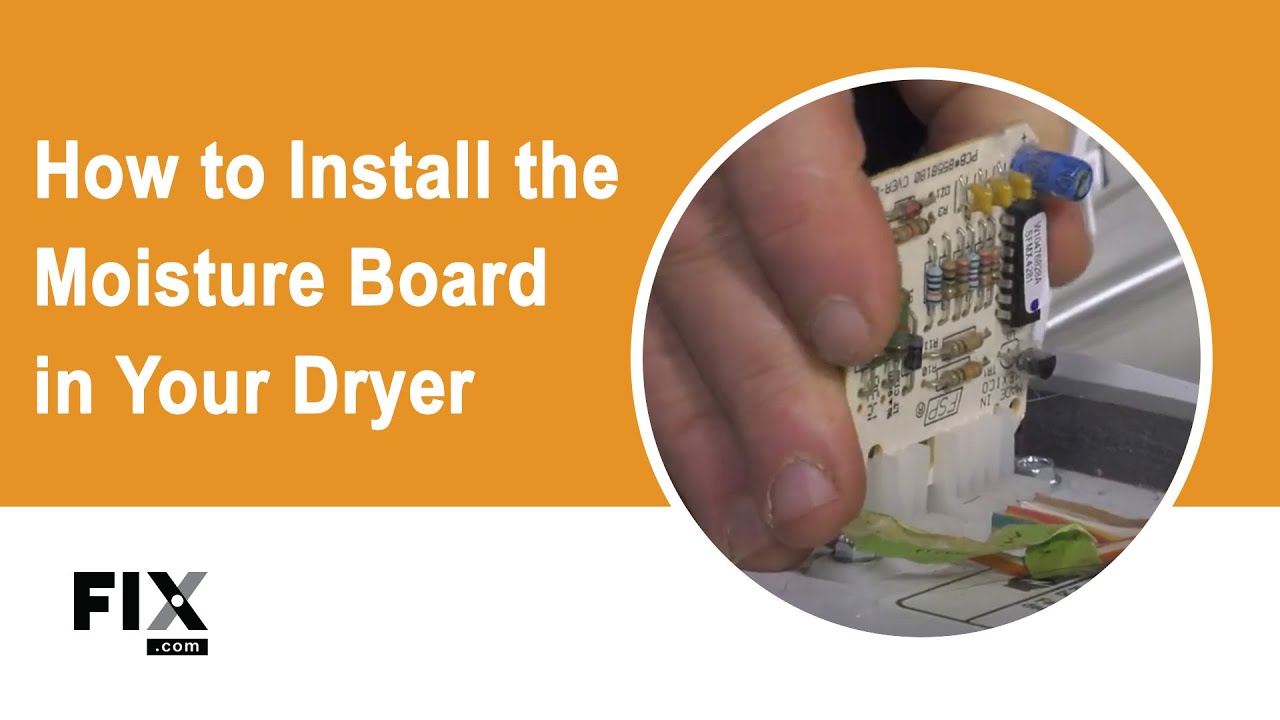
How to Install a New Moisture Board
- Insert your new moisture sensor board into its appropriate slot near the control board.
- Reconnect any necessary screws or wires. The method of fastening will vary depending on your model.
- You can now reassemble the timer/control board and dryer cabinet, making sure to reconnect any necessary screws and wires. Your repair is now complete!
Next: Troubleshooting the Moisture Sensor Bars
Go To Main Page: Clothes Come Out Wrinkled