


How to Fix the Moisture Sensor Bars for a Dryer When Your Clothes Come Out Wrinkled
If your clothes are coming out of your dryer wrinkled when they shouldn’t be, it might be because of an issue with your dryer’s moisture sensor bars. The moisture sensor bars communicate with the moisture sensor board to relay information about the overall moisture content of the dryer’s load. The moisture bars are prone to being covered in residue from drying cycles, and can also have objects from the load become wedged in them, preventing them from doing their job. If defective or in need of a clean, the moisture sensor bars can cause your dryer to detect an incorrect level of moisture at any point. Clothes that are too damp can remain bunched up and wrinkled, so this part is crucial to a crisp, pressed load of laundry.
What are Moisture Sensor Bars?
Moisture sensor bars are slim pieces of metal and plastic within your dryer drum that measure the moisture level of the clothes within the dryer tub during the drying cycle.
Where are the Moisture Sensor Bars Located?
The moisture sensor bars are normally located within the drum of your dryer, closer to the back of the tub, in a fixed and secured position.
General Location of the Moisture Sensor Bars in a Dryer

FIX TIP
How to Access, Remove, and Inspect the Moisture Sensor Bars in a Dryer
- Remove the lint screen from your dryer.
- Using a suitable screwdriver or wrench, disconnect the screws securing the back panel of your dryer, and remove it. Some models have moisture sensor bars located on the front, so if this is true for your model, you’ll have to remove the front panel in order to gain access.
- Again using a suitable screwdriver or wrench, remove any securing screws or bolts from the blower housing.
- Remove the blower housing to expose the rear of your dryer’s inner tub.
- Disconnect the wire attached to the sensor bars, and remove the sensor bars.
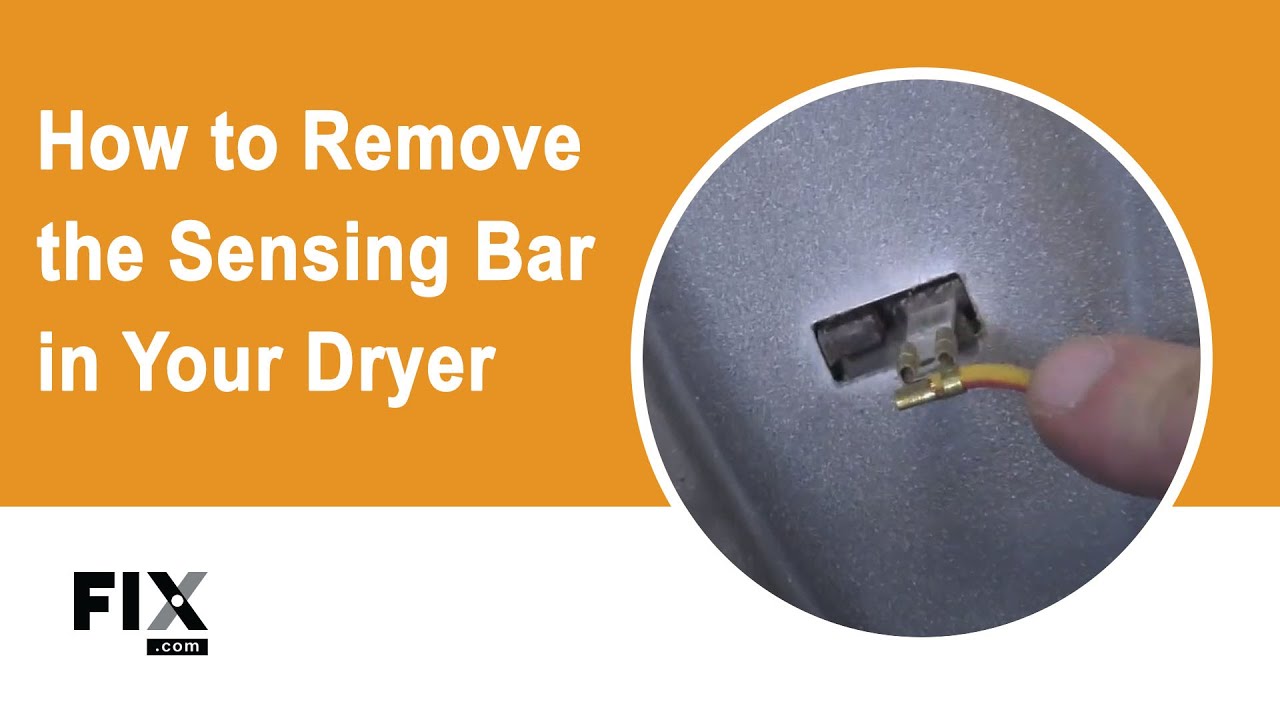
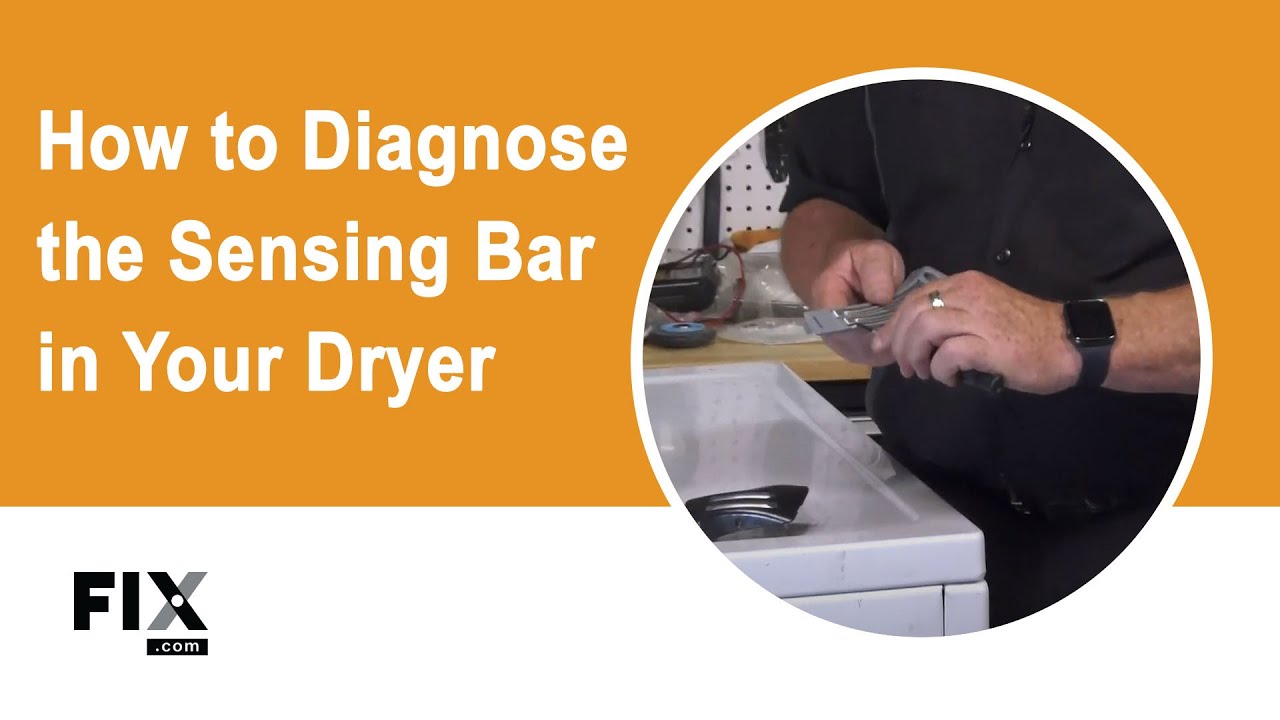
How to Test the Moisture Sensor Bars
Testing moisture sensor bars is relatively easy, but you’ll want to look out for a few things before you write them off as the problem.
- Check for any residue or substances on the bars. If you frequently dry your clothes with drying sheets (i.e. fabric softening sheets), residue can build up on the bars, which leaves them almost incapable of detecting moisture. Here, you can simply give the bars a good scrub with a washcloth.
- Look for any indications that the bars have something caught in between them and their housing. If that is the case, the bars will need to be replaced. Depending on your model, you may get away with replacing just the bars, or you may need to replace the whole housing.
How to Install New Moisture Sensor Bars
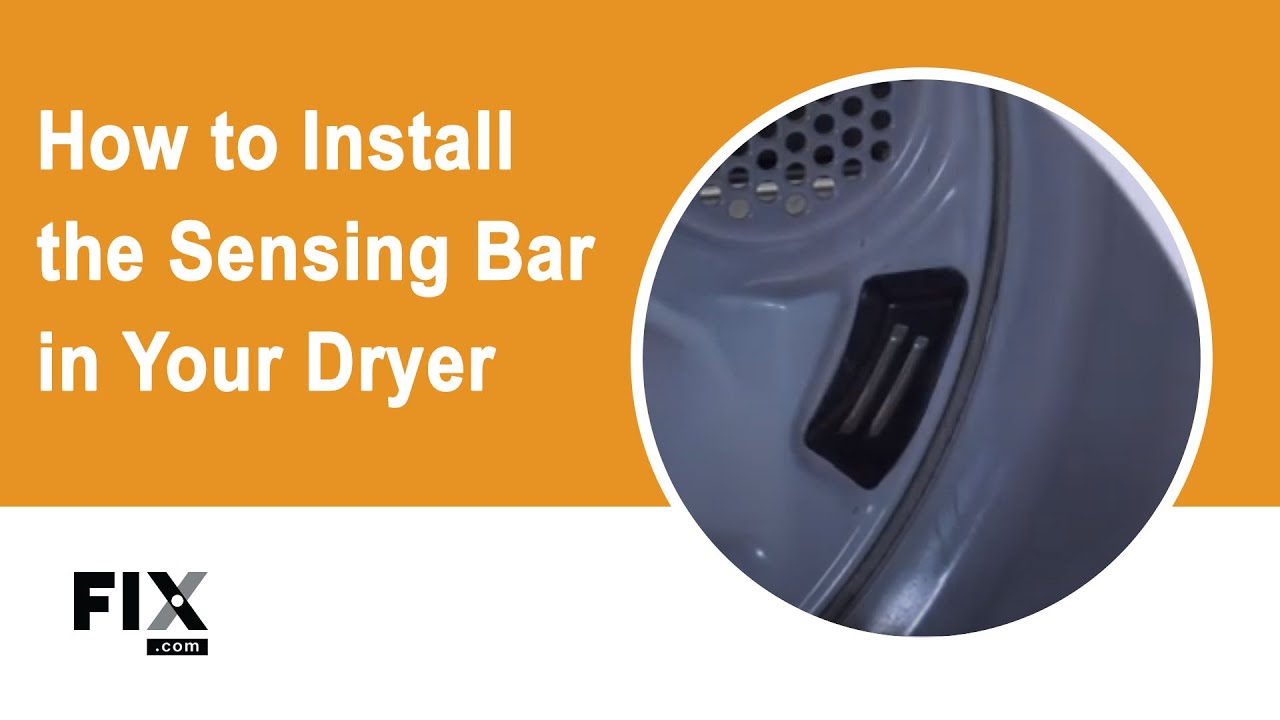
- If your new moisture bars come without the housing, you just have to snap each side of each bar into the respective side of the housing.
- Now that your entire moisture sensor bar housing is ready, you can position it within your dryer’s tub from where it was removed, and push each terminal through its respective hole.
- On the other side of the dryer tub, where you would have originally removed the bars, you can pull the top terminal through and twist it to wedge it into the hole.
- With the bottom terminal, you can simply pull it through and reconnect it to the wire that it would have been originally connected to.
- With the moisture sensor bars connected – you can now reattach the blower hosing and resecure it with its screws.
- Reinsert the lint screen back into the top panel of your dryer, if applicable.
- Now, you can reattach the back panel of your dryer, secure it with its screws, and your repair is complete!
Next: Troubleshooting the Operating Thermostat
Go To Main Page: Clothes Come Out Wrinkled