


Like what you're reading?
Get your fix of expert articles delivered straight to your inbox!
Oops! Please double check your email address.
No Thanks - I don't like cool stuff


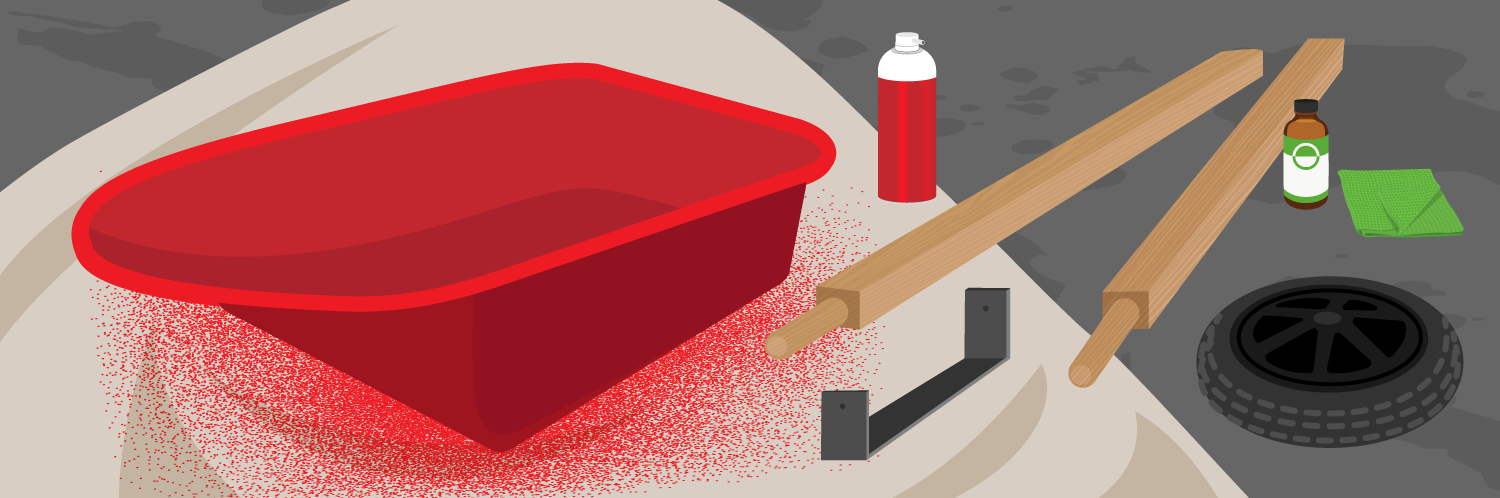
With spring projects underway, your wheelbarrow has been doing all the heavy lifting around the yard, and it could use a little TLC. We'll show you how to get that rusty tub, splintering handles, and wobbly wheel looking good as new! All you need are a few tools and some elbow grease. Let’s get started!

The first step is to remove the bucket or tub from the wheelbarrow. Depending on the model you have, you may need a socket wrench or ratchet, or screwdriver to remove the various nuts, bolts, and screws holding your wheelbarrow together. If your wheelbarrow is excessively rusty, you may find some of the bits difficult to remove, and you may want to look at replacements for when the time comes to reassemble. Once the tub is removed, the next areas are the frame and wheel. Start by removing the braces from the handles, then removing the wheel and setting that aside. Once all the individual pieces are removed it is time to start cleaning.

To clean the different components of our wheelbarrow, we used a wire wheel attached to a cordless drill. This was an easy and effective way to remove rust from the various metal pieces along with the tub. For the smaller pieces, we held them in place with a vice while we removed the rust. Wipe away any debris before moving on to priming.

Now that all the metal components of the wheelbarrow have been sanded down and cleaned up, it’s time to apply some primer. To make the primer easier to apply, we hung our smaller pieces from a line to access all the angles. For easier cleanup, we’ve put drop cloths on the floor and hung some behind our smaller pieces. We're using an aerosol spray primer that is intended specifically for rusted metal. This product will cover up any current rust marks and provides protection against further rusting. When priming and painting, make sure you’re doing it outside or in a well-ventilated area, and be sure to wear the proper safety gear like a mask and glasses. Once the primer dries, it’s time to paint!

To add some color to our wheelbarrow, we’re going with an aerosol rust-inhibiting enamel. We’ve chosen a glossy black for the smaller metal pieces, and we’re coating the tub in a nice green. You can get as fun and crazy as you want here, it’s your call! Maybe the red wheelbarrow was out of stock when you were shopping. Well, now is your opportunity. You may need to apply a second coat of paint, so ensure that the first coat is dry before adding a second. While the paint dries, we’re going to work on the handles.

Our wheelbarrow has hardwood handles, and after a winter stored outdoors, they have seen better days. They’re a bit faded and rough, but they are still able to be used and don’t require much in terms of restoration. We're going to keep things simple and use linseed oil to condition and seal the wood. You can buy linseed oil at your local hardware or paint shop. It will help to seal the wood from any moisture. To keep the handles in good condition, you can reapply this oil each year. Simply pour some of the oil onto your rag and rub it into the handles. While the handles cure, we’re going to take a look at the wheel.

Before reassembling the wheelbarrow, we’re going to inspect the wheel. Is the tire flat? Is the wheel wobbly? Our model features a “never go flat” tire, so we just need to ensure it has the proper air pressure. If your tire has gone flat, there’s no need to replace the whole thing. Simply buy a new tube that fits your wheel size, and just replace the tube.

If your wheel is wobbly when rolling the wheelbarrow, or it is excessively noisy, you may need to change the bearings. Once again, a whole new wheel isn’t necessary to correct this issue, just replace the bearings and your wheels will be back on track.

Now that we have the rust removed, the parts painted, the handles oiled, and the wheels pumped up, we’re all set to put our wheelbarrow back together! With a bit of elbow grease, your wheelbarrow now looks good as new, for a fraction of the cost of buying a new one.

If your lawn and garden equipment could use some new parts, we have you covered! Simply search for your model number to find all the genuine OEM replacement parts, guaranteed to fit your equipment. Be sure to follow along with our YouTube channel. to stay up to date on all our projects.
Written by:
Written by:
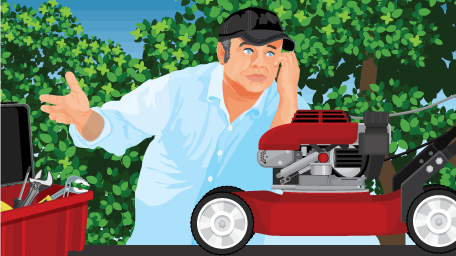
A broken-down lawn mower doesn't necessarily mean a costly trip to a repair...

You can never know too much about gardening, and as a beginner, it can be i...
Repurpose and upcycle your reclaimed wood with these easy home improvement ...
Get your fix of expert articles delivered straight to your inbox!
No Thanks - I don't like cool stuff