

Like what you're reading?
Get your fix of expert articles delivered straight to your inbox!
Oops! Please double check your email address.
No Thanks - I don't like cool stuff


Professional photographers have flight cases, a photo assistant, and a travel budget. You may not have these luxuries, and adapting your camera and lens inventory to include other essential items like strollers and Frozen DVDs may feel like a compromise, but it’s completely doable if you prepare adequately. There’s no reason your photographic record of your trip will be any less memorable.
When you’re picking out a camera bag, stick to the big names. They may seem expensive, but you wouldn’t wrap your Stradivarius in a beach towel, would you? Pros will often take more than one bag with them on assignment, so you should choose the bag based on the trip you’ll need it for.
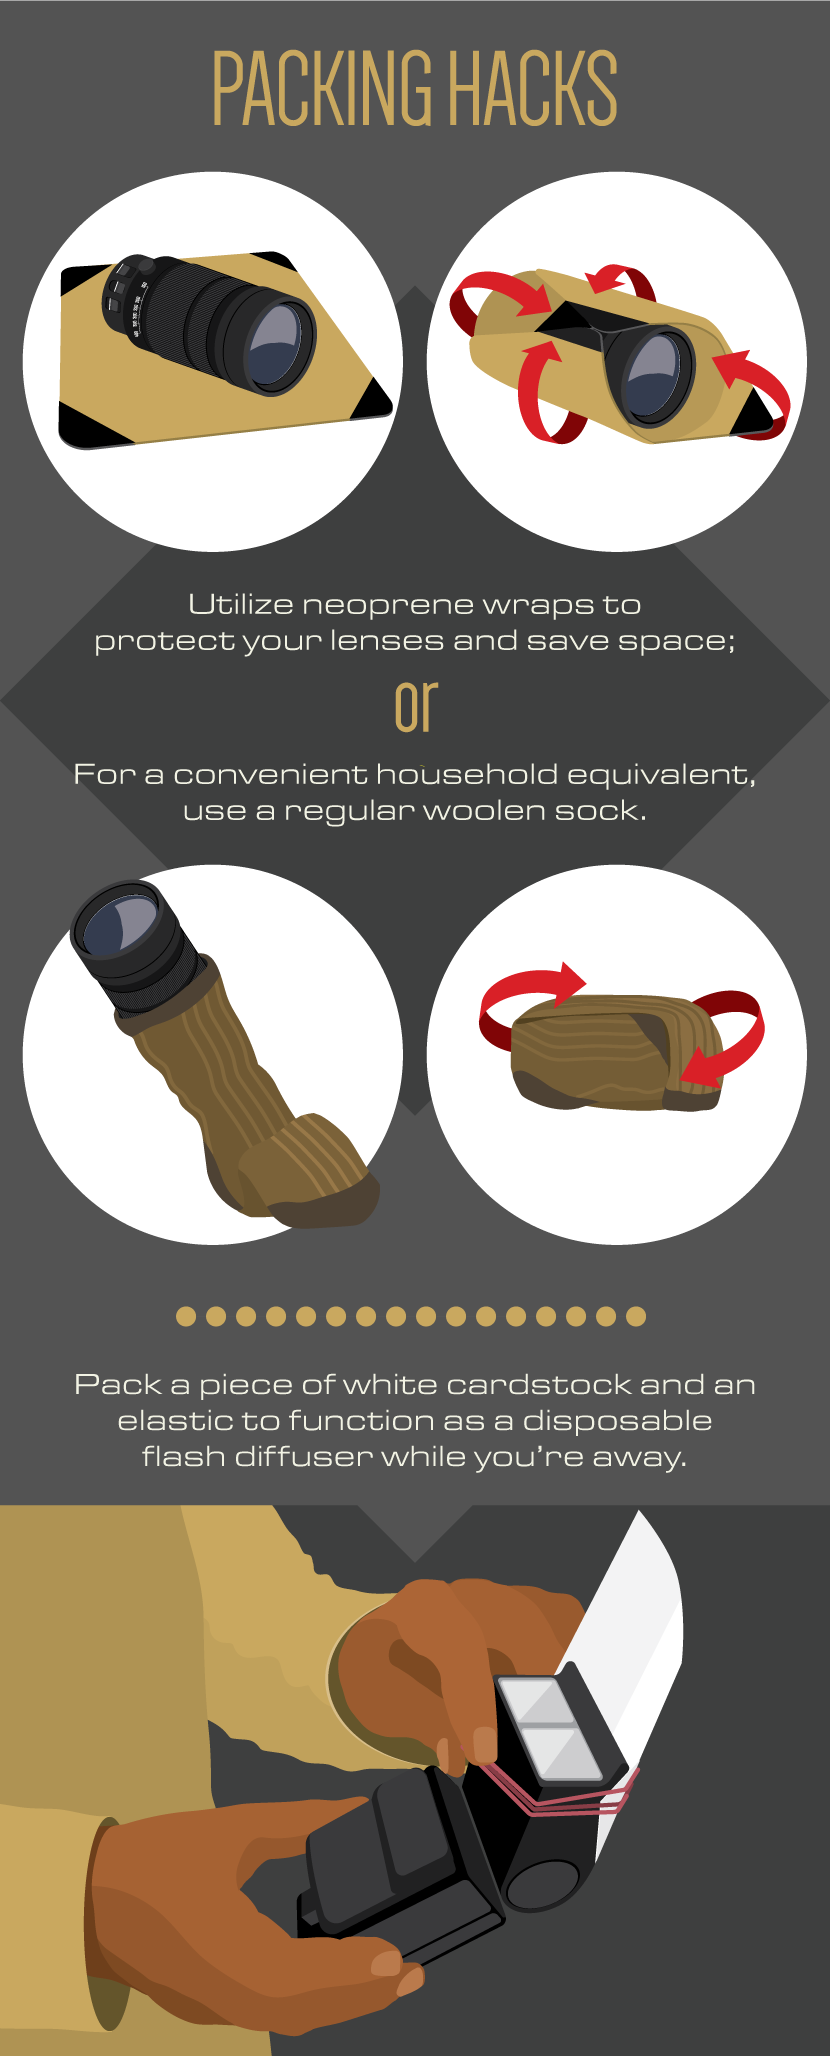
Packing your bag correctly will prolong the life of your camera equipment.

These days, photo blogs will tell you that the best lenses to get are the fastest prime lenses. A prime lens is a fixed focal length lens, and those with the largest aperture, designated by small f numbers – f1.4, f1.2, etc. – are the “fastest”. These can work if you’re shooting in low light or have the space and strength to carry all that heavy, expensive glass.
But, for every three fast prime lenses you put in your bag you can pack a single zoom – or variable focal length – lens that weighs very little and is more versatile. The compromise is zoom lens are “slower” – zoom lenses rarely open to less than f2.8 – but with advances in noise reduction and chip technology, you can now dial your ISO – the light sensitivity – to absurdly large numbers and make pictures in low light without losing quality. Equally, you can use flash when it gets dark. Direct flash is never a flattering light, but using flash exposure compensation will soften it and make the flash effect less “punchy.”
You can also make disposable flash diffusers with pieces of white card. Spending $30 on a plastic bounce card seems crazy when you can build your own for under $1. Stick a stiff white card about 6 inches in height so it sticks out above your flash head when it’s raised at 45 degrees, and you’ve got a flash bounce card that will diffuse your flash output and give you a softer, more flattering light.
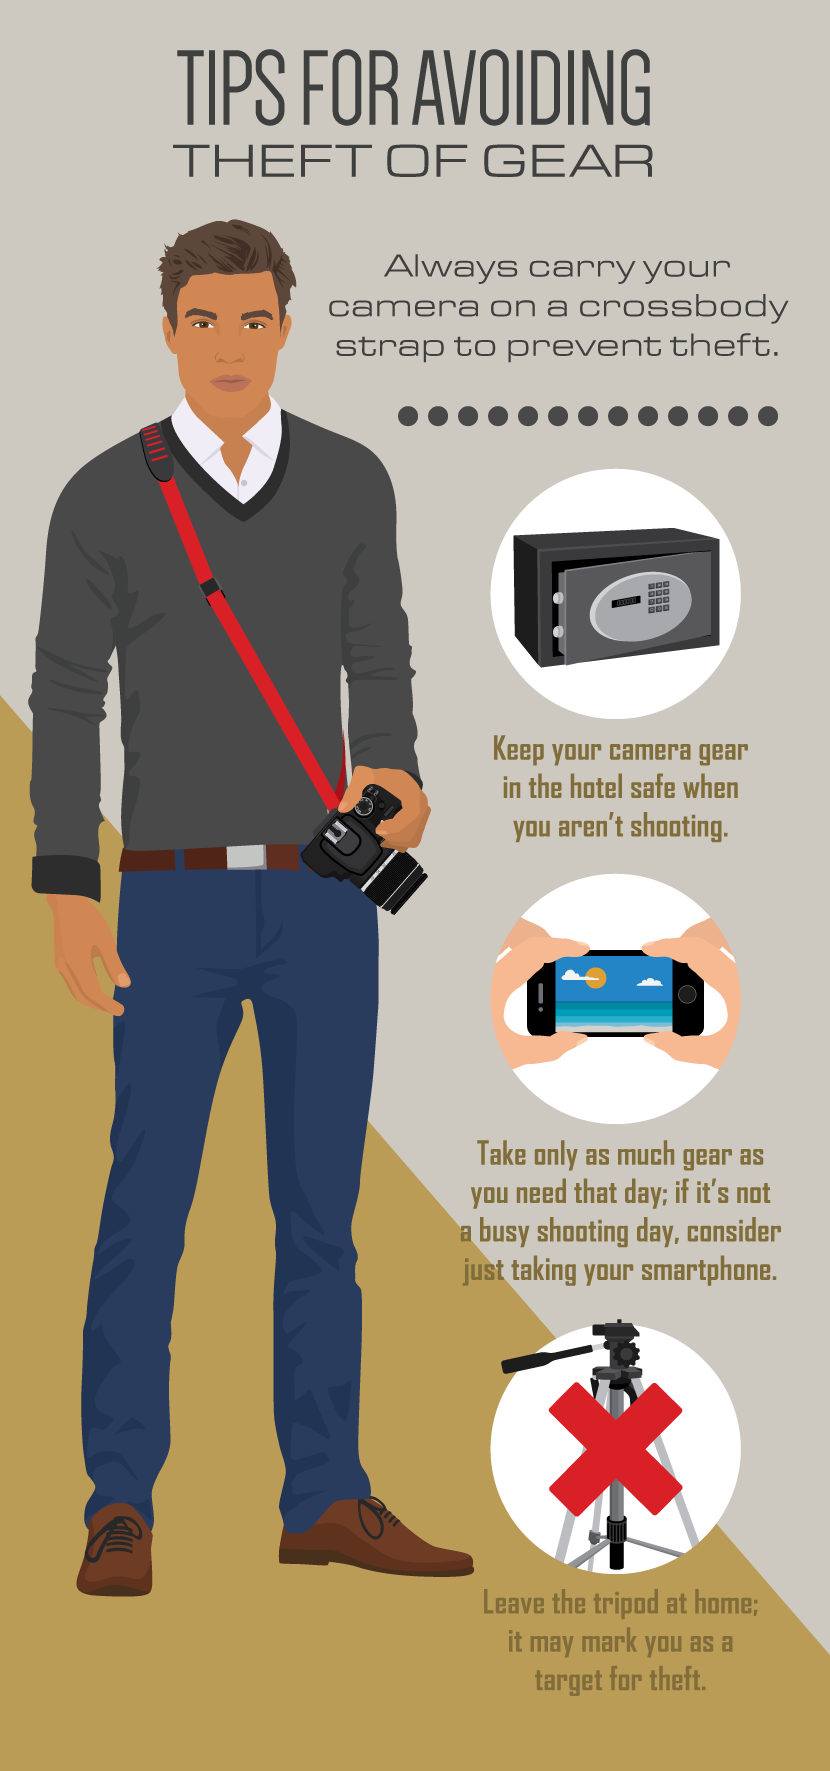
Whether you’re going to Rio for the Olympics or camping in Yellowstone, security is always going to be issue, so be cautious about when and where you use your camera.
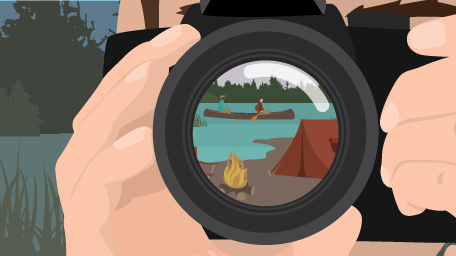
Look ahead and schedule the places you’ll visit with your camera before you leave. Plan to shoot at the most scenic places at certain times of day. Early morning and late evening are when the light is at its best for landscapes; but when the noon sun is at its strongest, use the camera’s built-in flash to fill in shadows.
Remember, it’s a family vacation. Consider this a time to reconnect with the family after many weeks of work. Put down the camera at mealtimes, and talk to your partner and the kids!
Embed the article on your site

Written by:
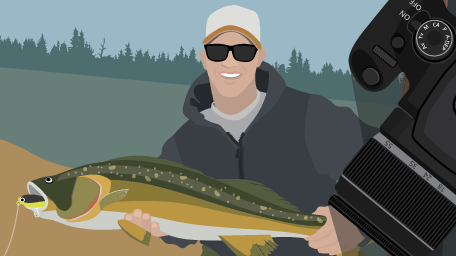
Take some time to rethink your fishing photography strategy with our tips f...

Sick of feeling out of sorts after spending the day flying? Read our tips f...
The time it takes to learn the art of landscape photography is well spent w...
Get your fix of expert articles delivered straight to your inbox!
No Thanks - I don't like cool stuff