


Like what you're reading?
Get your fix of expert articles delivered straight to your inbox!
Oops! Please double check your email address.
No Thanks - I don't like cool stuff


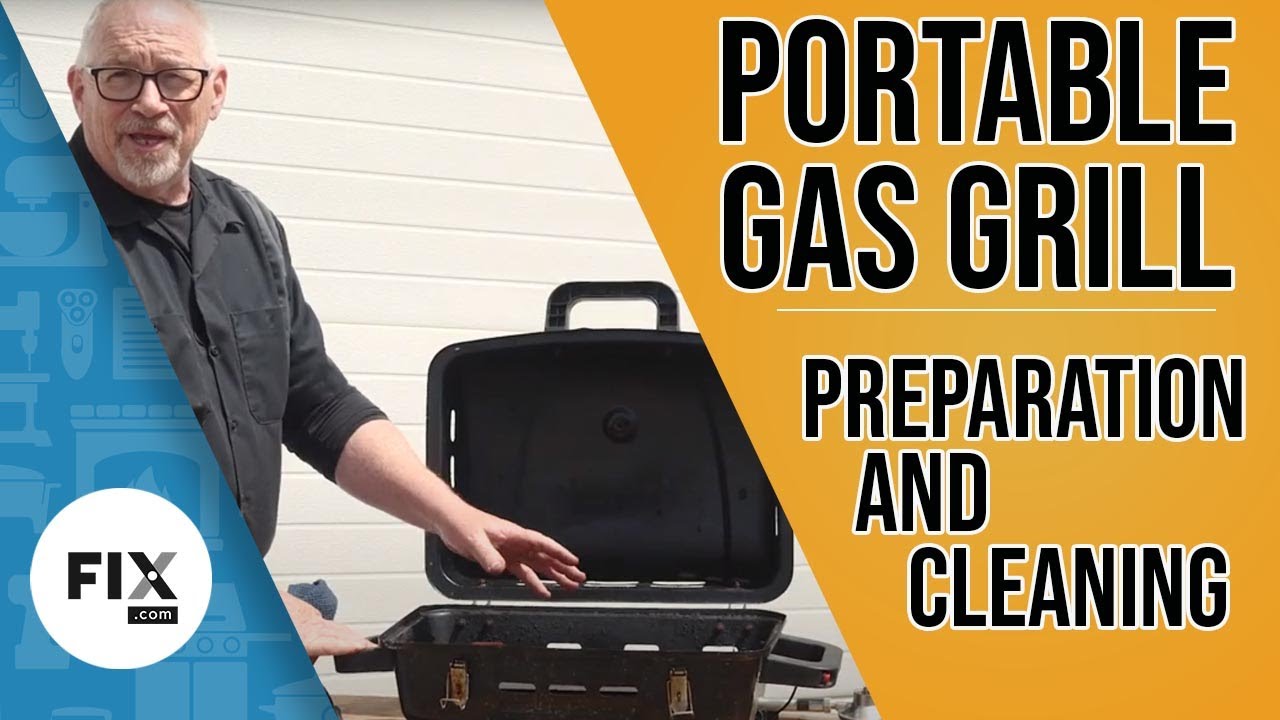
If you’ve just taken your portable grill out of storage, or perhaps you’re borrowing one for a camping weekend, it may need a little TLC. If last year’s hamburger patty is still haunting the grates, we’ll show you how to exorcise it. Giving the portable grill a thorough cleaning, along with prepping and testing it out, you’ll be sure everything is working as intended when it’s time for dinner.
The first step is to give the grill a thorough visual inspection, especially if it’s been a while since it was last used. Check to ensure that nothing is broken or rusted up, especially on the grates themselves. You don’t want to be placing your food onto rusted grills! If they are rusty, you may need to replace those, but otherwise, a good cleaning should be fine.

The next piece to check is the baffle, or heat shield, that goes over the burner. Look for any rust, corrosion, or holes that aren’t intended to be there. If the grill has a drip tray, again check for rust or holes in the tray. The drip tray mount is also susceptible to rust, so ensure that it is in good condition as well. If the drip tray wasn’t cleaned out the last time the grill was used, this part could be pretty gross – you've been warned!

The burner may be mounted to the bottom of the grill. If this is the case, there’s no need to remove it. Later, once we’ve removed all the gunk from the base of the grill, we’ll be able to get in and give the burner a better look over. Give the exterior of the grill a look over, once again checking for rust, holes, or corrosion. Ensure that any legs or supports work properly and are in good condition.

Depending on your model of grill, the igniter likely has a push button. Some of these require batteries, so make sure yours haven’t corroded while in storage and replace them with fresh batteries if needed.
Next up is the fuel tank and the fuel regulator. The regulator may attach to the burner by a clip, prong, or threading it on. Whichever method your grill has, you want to ensure that the burner opening isn’t blocked to allow proper airflow to the flame. There should also be a little rubber O-ring where the regulator connects to the tank. Ensure that this ring is in place and isn’t worn or cracked. If you notice any damage, you'll want to replace the ring.

If you’ve purchased a new propane cylinder for the season, they will come with a plastic cap that just needs to be removed prior to use. If you’re using a cylinder you’ve had for a bit, inspect the threads and the tank to ensure that they aren’t dented. If there are any deformities, don’t use that tank.

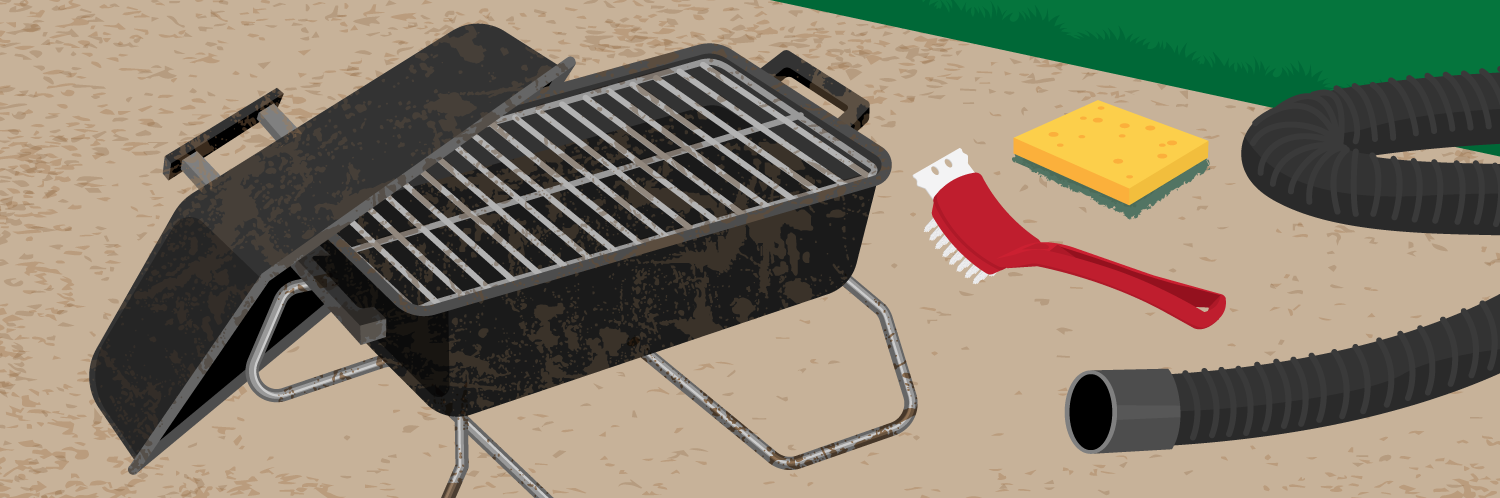
Now that all the components have been checked over and deemed to be in good working order, it’s time to clean things up! We're going to be using a shop vac, a soft bristle brush, a sponge, a soft cloth, and some warm soapy water. Nothing harsh or abrasive! The first step is to remove all the loose components like the grates, the heat shield, and the drip tray. Next, we’re going to use the shop vac to get all the gunk out of the base of the grill. With all the chunks and flaky bits out of the way, the interior can be wiped down with a soft cloth to get any remaining grime.

Now it’s time to clean up the individual bits. We're using a brush to remove the caked-on gunk from the heat shield. Again, don’t use a wire brush or anything abrasive on the parts, a brush with sturdy bristles will be sufficient in loosening up the tough bits. Once you’ve done that, a scouring sponge with hot soapy water will take care of the rest. You can do a similar process on the grates and drip tray. Be mindful with the grates, if their protective coating comes off, they can start to rust, and you don’t want that with your cooking surface! Once everything has been cleaned up, set them aside to dry.

Before putting all the pieces back in your grill, look at the electrode on the burner. If there’s any grime remaining, wipe it clean with a soft cloth to ensure that it lights properly. Inspect the burner itself, and if the holes are a bit gummed up, you can use a toothpick inserted into them to clean the debris out.

With everything cleaned up and gunk-free, it’s time to put the grill back together. Insert the drip tray back into its holder, place the heat shield over the burner, and place the grates back on top. Finish up by connecting the propane cylinder and testing it out!
Before we turn the grill on, we’re going to test the canister for leaks. In this example we have a specialized leak test fluid, that will bubble up if there are any leaks coming from the cylinder. This fluid can be quite expensive and isn’t required to do this test. A simple solution of water and dish soap will produce similar results. Pour this liquid where the cylinder connects to the regulator. If your canister has a leak, you will see bubbles form. No bubbles, no troubles!

You're now good to fire up the grill and enjoy dinner. To make things easier next time you pull out the grill, be sure to clean out the drip trays and clean the grates after each use. That will help prevent all the build-up! If some parts of your grill were just too far gone to save, we have you covered! You can find OEM grill parts simply by searching with your model number to ensure a perfect fit. Want to share your before and after photos of your spruced-up grill? We want to see them! Share them with us on Facebook, Twitter, or Instagram.
Written by:
Written by:

It's time to whip out the grill and bring the heat outside. Here are the mu...

Football season is on! Learn how to host the perfect tailgate, without leav...

Save time, space, and money with these fun camping hacks. Keeping things si...
Get your fix of expert articles delivered straight to your inbox!
No Thanks - I don't like cool stuff