


How to Fix a Vent for a Dryer That Is Too Hot
When your wet clothes are tumbling in the dryer, the moisture on them evaporates and travels through the dryer’s vent. Your dryer’s exhaust system has the important job of removing both hot air and lint from the drum. The vent is one of the first parts you should check if your dryer is overheating.
What is the Vent and Where is it Located?
The dryer vent is a silver piece of tubing that’s found at the back of the dryer, towards the bottom. This tube connects the dryer’s exhaust outlet to a duct in the wall of your laundry room. It removes excess heat, moisture, and lint from the dryer throughout its cycle by acting as a passageway for hot air exiting the drum. If your dryer is overheating, inspecting its ductwork should be your priority. If not cleaned regularly, your dryer’s vent can become clogged by lint that accumulates. A blockage in the vent means that hot air remains inside the drum for longer than necessary and causes the dryer to become too hot.
General Location of the Vent

FIX TIP
What Are the Warning Signs of a Clogged Vent?
Some red flags which indicate that your dryer has a clogged vent include the following:
- Your clothes are taking too long to dry or are unusually hot;
- Your clothes smell musty;
- Your laundry room feels humid.
How to Access, Remove, and Inspect the Vent
- As with all repairs, begin by unplugging your dryer. If you have a gas dryer, shut off the gas supply and disconnect the gas lines.
- Shift your dryer forward and away from the laundry room wall.
- Remove the duct from the dryer’s exhaust outlet. If it’s secured by a gasket or a band clamp, loosen it with a screwdriver.
- Look into the duct and check for any lint buildup, holes, or kinks.
- Look into the dryer’s exhaust outlet and check for any lint buildup.
- Gently remove the duct from the outlet in the wall.
- Look into the wall’s outlet and check for any lint buildup or debris.
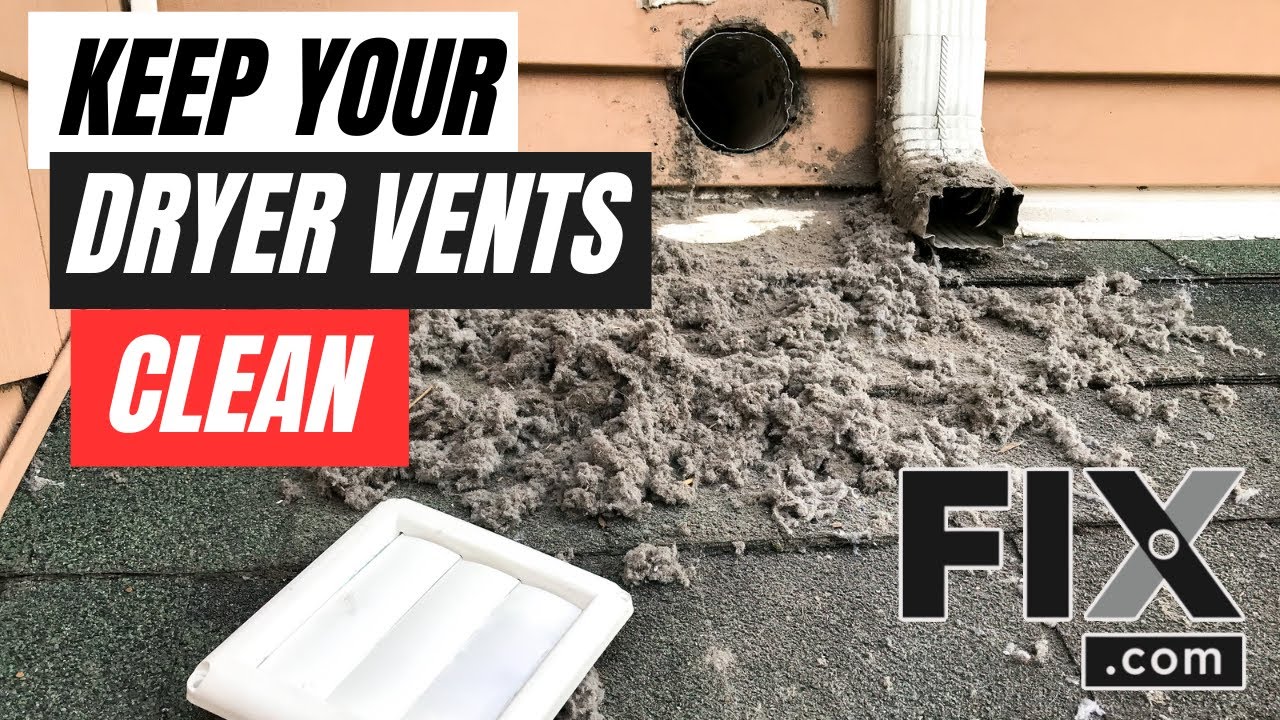
- Locate the outdoor vent, which is found outside your home, and check for any visible lint buildup or debris.
FIX TIP
How to Clean the Vent
Is It Safe to Clean the Vent on Your Own?
You can clean your dryer vent yourself without the need for professional help as most dryers only have a short section of ductwork leading to the outside of the property. You may only need to get professional help if you have extensive ductwork or if your exterior vent is located on your roof and you’re not comfortable with cleaning it there.
- Wear a mask and eye protection.
- Once you’ve disconnected the duct from the dryer, clean the inlet grills found on the back panel before moving on to the vent. Remove the grate and use a shop vacuum to clear out the lint inside it.
- Reattach the grate once you’ve finished cleaning the inlet grills.
- Assemble a rotary brush by attaching the brush to the threaded end of a single rod extension. Then screw a drill adapter into the other end of the rod extension.
- To vacuum out the dryer vent while you’re cleaning it, attach a vacuum adapter to the brush, the dryer’s exhaust outlet, and the shop vacuum. Attach the end of the rod extension to your drill.
- Turn on the drill and the shop vacuum, then slowly feed the brush into the ductwork. Move it in and out continuously bit by bit, gradually feeding more and more of the brush into it.
- Once you’ve fed the whole brush into the ductwork, turn off the drill and reattach another rod extension to the back of the existing one. Use electrical tape or duct tape to secure each rod extension together.
- Repeat the process: vacuum and feed the brush into the ductwork until the whole brush is inside and attach another rod extension to the end of the existing rod. Continue until you’ve cleaned the entire ductwork.
- Turn off the drill and the shop vacuum, remove the brush from the ductwork, and disassemble the rotary brush.
- Reattach the duct onto the wall outlet and the dryer’s exhaust outlet. Install a new duct if the old one is damaged.
- Push the dryer back into position, being careful not to obstruct the duct as you do so.
FIX TIP
Next: Troubleshooting the Lint Trap
Go To Main Page: Too Hot