


How to Fix a Lid Switch for a Washer With Filling Issues
The lid switch sends signals to the control board to stop the washer from agitating or spinning when the washer’s lid or door is open. If the switch is faulty, the washer interprets the lid/door to be open and will keep the water inlet valve from opening to let the washer fill.
What is the Lid Switch?
The lid switch, or the door-locking mechanism, is a safety feature that stops the washer from agitating or spinning when the lid/door is opened. This prevents water from sloshing out of the tub and the user from injuring themselves. A bad switch usually will not produce a clicking sound when the lid/door is opened.
Where is the Lid Switch?
It is typically found near the top in a top load washer or in the door in a front load washer. It is shown here in the upper left corner under the top panel of the washer. It may be found at either of the other corners.
General Location of the Lid Switch

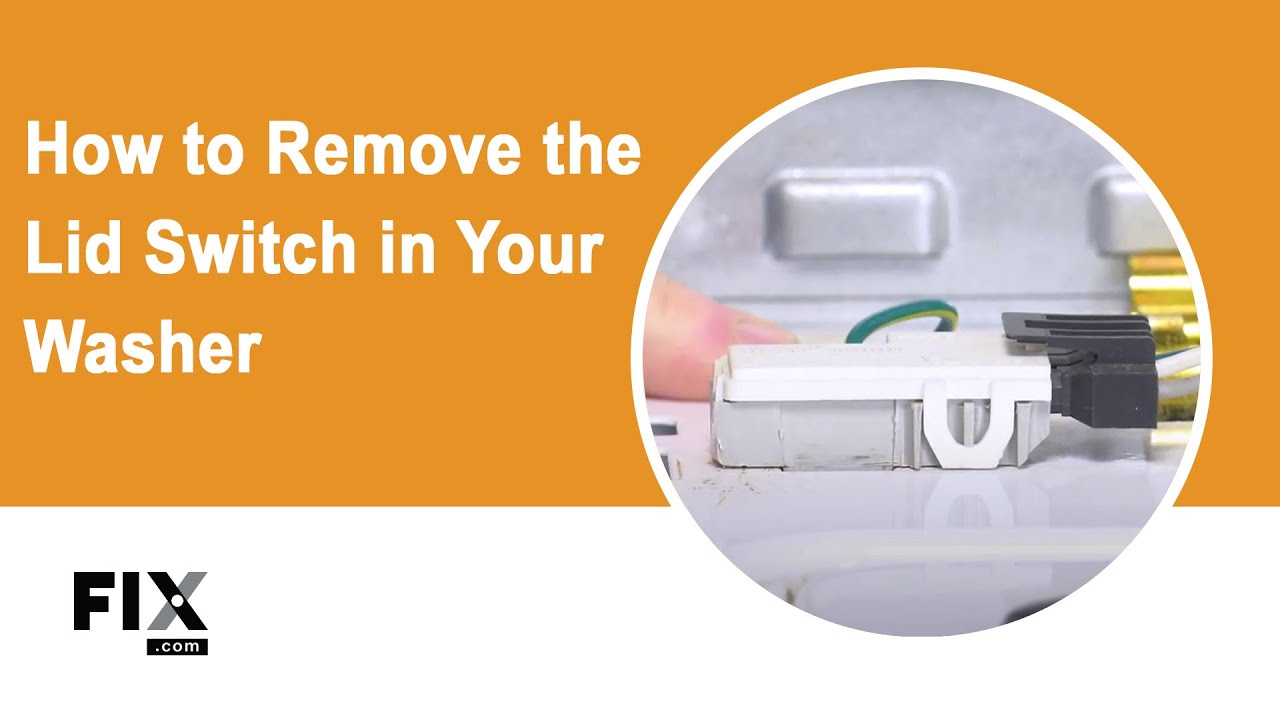
How to Access, Remove, and Inspect the Lid Switch
If You Have a Top-Load Washer
- As with all repairs, begin by unplugging your washer. If you have a gas washer, shut off the gas supply and disconnect the gas lines.
- Additionally, be sure to turn off your hot and cold water supplies.
- Place a towel underneath the hose connection to catch any water that leaks out.
- Loosen the metal fittings on the hoses, both at the back of the washer and at the faucets, with hose pliers.
- Loosen any screws securing the console to detach it from the washer.
- Remove the retaining clips connecting the console to the top cover using a flathead screwdriver.
- In the console, disconnect the wiring harness that runs to the lid switch.
- Slide the cabinet out of the washer.
- Focusing on the cabinet, raise the lid up and unthread any screws that are securing the ground wire in place.
- Look under the cabinet and continue to loosen any other screws that are holding the ground wire.
- Remove the ground wire assembly so that you can access the lid switch.
- Take the lid switch out of its slot and inspect its harness connector for signs of wear and tear.
If You Have a Front-Load Washer
- As with all repairs, begin by unplugging your washer. If you have a gas washer, shut off the gas supply and disconnect the gas lines.
- Additionally, be sure to turn off your hot and cold water supplies.
- Shift your washer away from the laundry room wall.
- Place a bucket underneath the hose connection to catch any water that leaks out.
- Loosen the metal fittings on the hoses, both at the back of the washer and at the faucets, with hose pliers.
- Open the washer door and locate the coil spring at the bottom edge of the bellows.
- Remove the coil spring by pulling it towards you with a pair of needle-nose pliers.
- Peel the bellows away on the side where the door lock assembly is and remove the screws securing the assembly in place.
- Take the assembly out of its slot and disconnect the wire harnesses running to it.
- Inspect the switch for damages.
How to Remove Other Lid Switch Types
Your washer may feature a unique style of lid switch, whose removal instructions may differ from those above. These different styles may include a magnetic lid switch, an on/off switch, a switch with a bimetal heater, a switch with a solenoid, and a switch with a motor. To review general instructions for removing these different styles, please watch the video below.
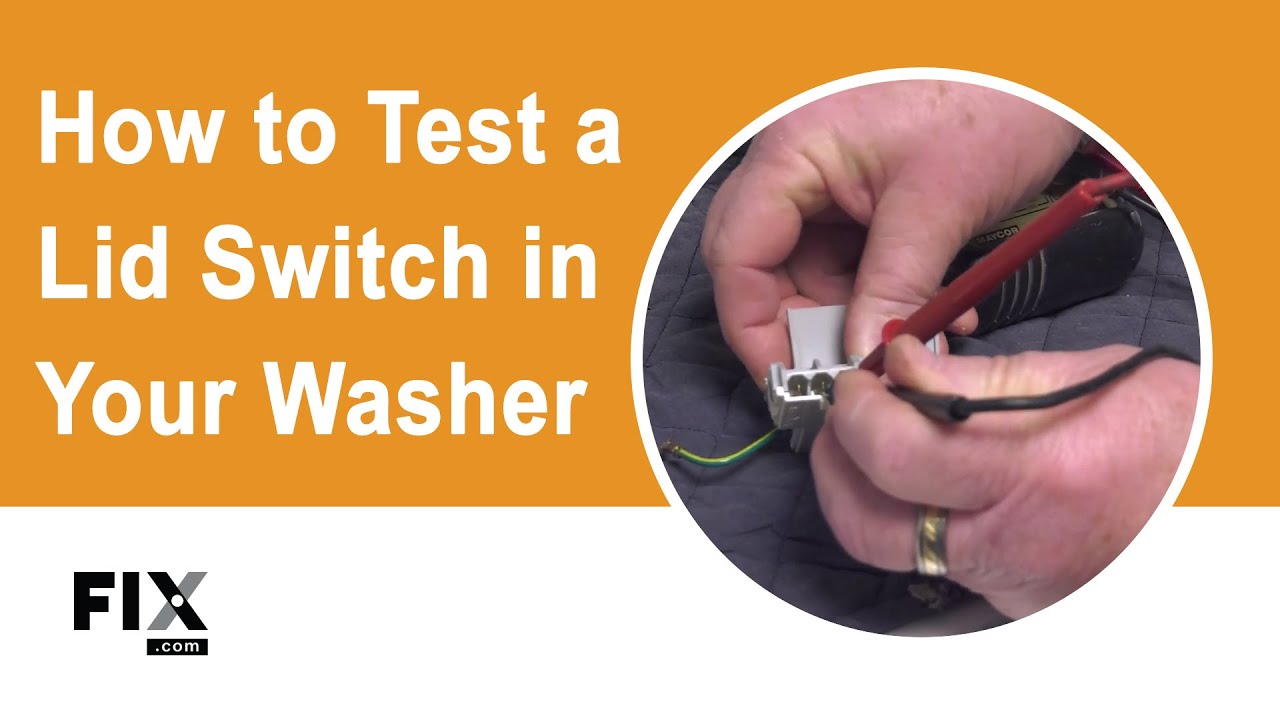
How to Test the Lid Switch
A normally open switch should only have continuity after the switch has been actuated. A normally closed switch should only have continuity before the switch has been actuated. The steps below test for continuity on an actuated switch.
- Set your multimeter to read in ohms on the lowest setting (some devices call this mode RX1 or X1). If your multimeter has a setting that tests for continuity by making a sound, you may set it to that as well.
- If you have an analog multimeter, calibrate the meter by pinching the probes together while adjusting the needle to read 0.
- Pull any clips off the valve’s terminals.
- Touch the probes to the wire terminals and check the reading – it should read between 500 and 1,500 ohms. Alternatively, listen for a sound.
- Replace your Lid Switch if it reads otherwise or if the multimeter does not make a sound.
How to Install a New Lid Switch
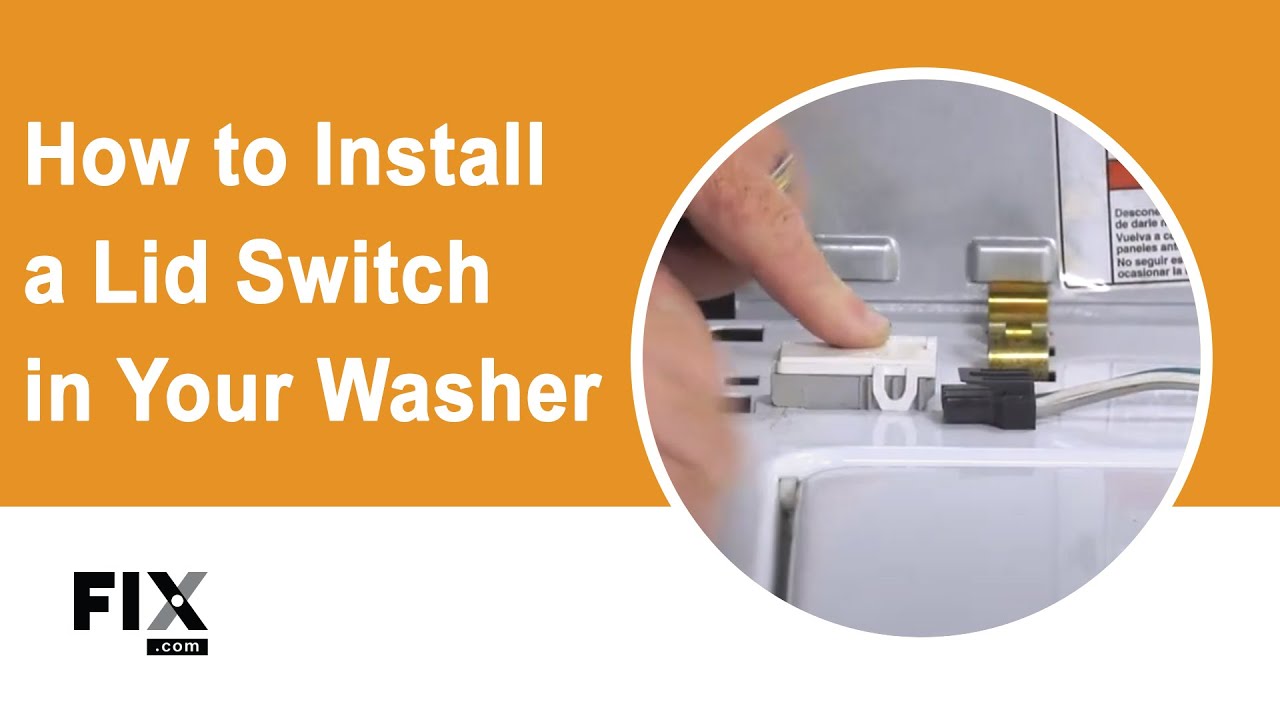
If You Have a Top-Load Washer
- Insert the harness connector of the new switch into the slot the previous switch was removed from.
- Put the ground wire assembly back into position and secure it with its accompanying screws.
- Replace the screws for the ground wire assembly.
- Reinstall the cabinet by aligning any slotted openings on it with their respective protrusions on the base frame.
- Reconnect the harness connector in the console that belongs to the lid switch.
- Replace the retaining clips found on the console and rotate the console forward.
- Secure the console back into place by resecuring any necessary screws.
- Reconnect the water hoses to the valve and tighten them.
- Push the washer back into position.
If You Have a Front-Load Washer
- Reconnect the wire harnesses to the new mechanism.
- Tuck it back into place and rethread its mounting screws.
- Reattach the coil spring to the bellows and close the washer door.
- Reconnect the inlet hoses to the washer and the water supplies.
- Push the washer back into position.
Next: Troubleshooting the Door Strike
Go To Main Page: Water Filling Issues