


How to Fix the Timer for a Noisy Dryer
The timer inside your dryer has several small components that can fail and become a noisy problem. If you are hearing a ticking or grinding sound, it is possible that the gears inside the timer are worn down. If you hear a buzzing or humming, then it is likely that the contacts in the timer are faulty and there is an electrical issue. To confirm whether your timer is the reason behind the noise you hear in your dryer, you will need a multimeter and the wiring diagram for your specific model of dryer.
What is a Timer?
The timer controls the duration of the drying cycles by sending the appropriate heating and cooling signals to the dryer at the beginning of a cycle and toward the end of a cycle. It contains a small motor which is responsible for turning the electric contacts on and off inside the timer. The timer controls the heat circuit and dryer motor as well. If the motor or the electrical contacts are malfunctioning, the dryer timer will not be able to advance and the dryer itself may not start.
Where is the Timer Located?
You can usually find the timer located inside the console/control panel on your dryer.
General Location of the Timer in a Dryer

What Type of Noise Can You Expect?
You may be able to tell that your timer is faulty if it is making a ticking, grinding, buzzing, or humming sound. The clip below will better illustrate what that noise may sound like.
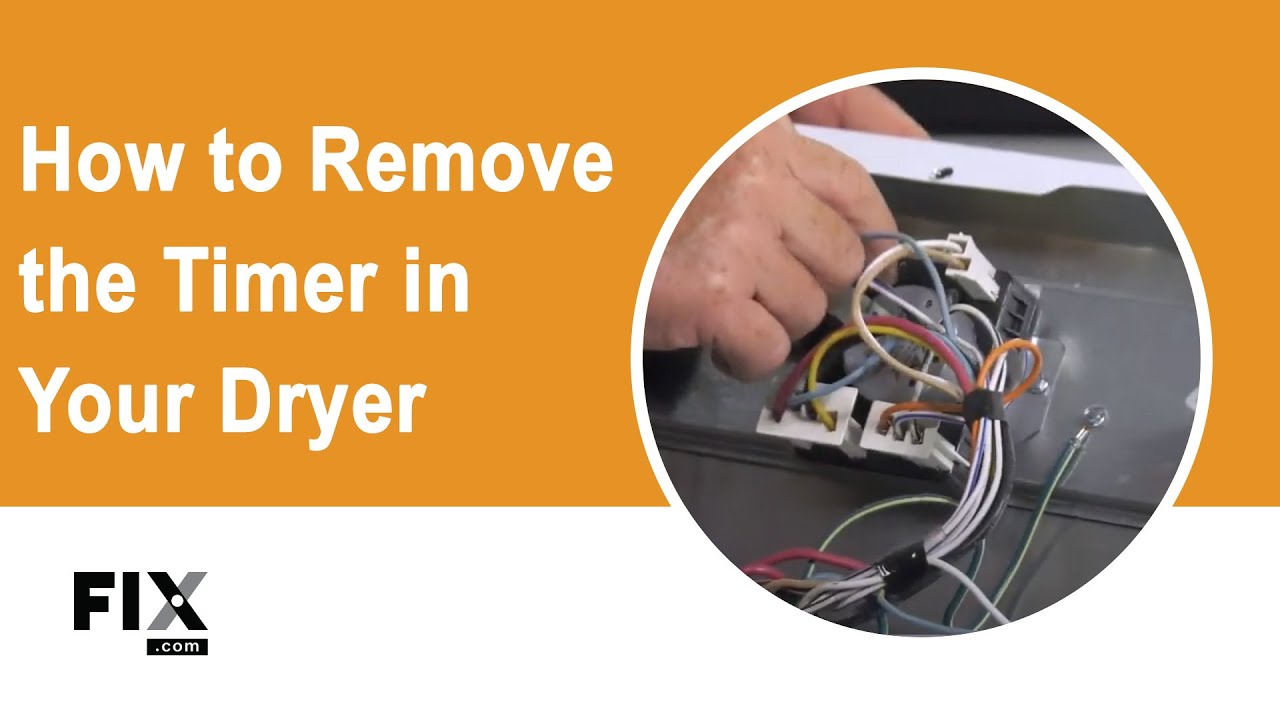
How to Access, Remove, and Inspect the Timer in a Dryer
- Begin by unplugging your washing machine and shutting off the gas if it is a gas dryer.
- Access the underside of the console to reach the timer. On some models, you may have to remove the back panel to access it.
- Once you have located the timer, disconnect the wire connectors from the timer.
- Inspect the timer for any damage. If there is none, you will need to test the timer for electrical failure.
- You may need the wiring diagram to know which set of contacts you need to test with the meter.
- Once you’ve noted these, you can test the terminals on the timer with a multimeter. If there is no reading or the reading is outside the correct range, then the timer has failed, and it will need to be replaced.
How to Test a Timer
- Use a multimeter to test the timer motor for continuity. Set the multimeter to the ohms setting and touch the probes to the two terminals on the motor. You should hear a sound. If the multimeter is not within the range specified for your dryer model and there is no sound, the timer will need to be replaced.
- Test the timer wiring: Check the wiring connections to the timer for signs of damage or wear. Use the multimeter to test the wiring for continuity, making sure the wires are properly connected and there are no breaks in the wiring. If the reading does not match the wiring diagram, then the wiring is faulty and you will need to replace the timer.
- Test the timer contacts: Set the multimeter to the continuity setting and touch one probe to a terminal on the timer motor and the other probe to each of the timer contacts. The timer contacts should be closed when the timer is set to the on position and open when it is set to the off position.

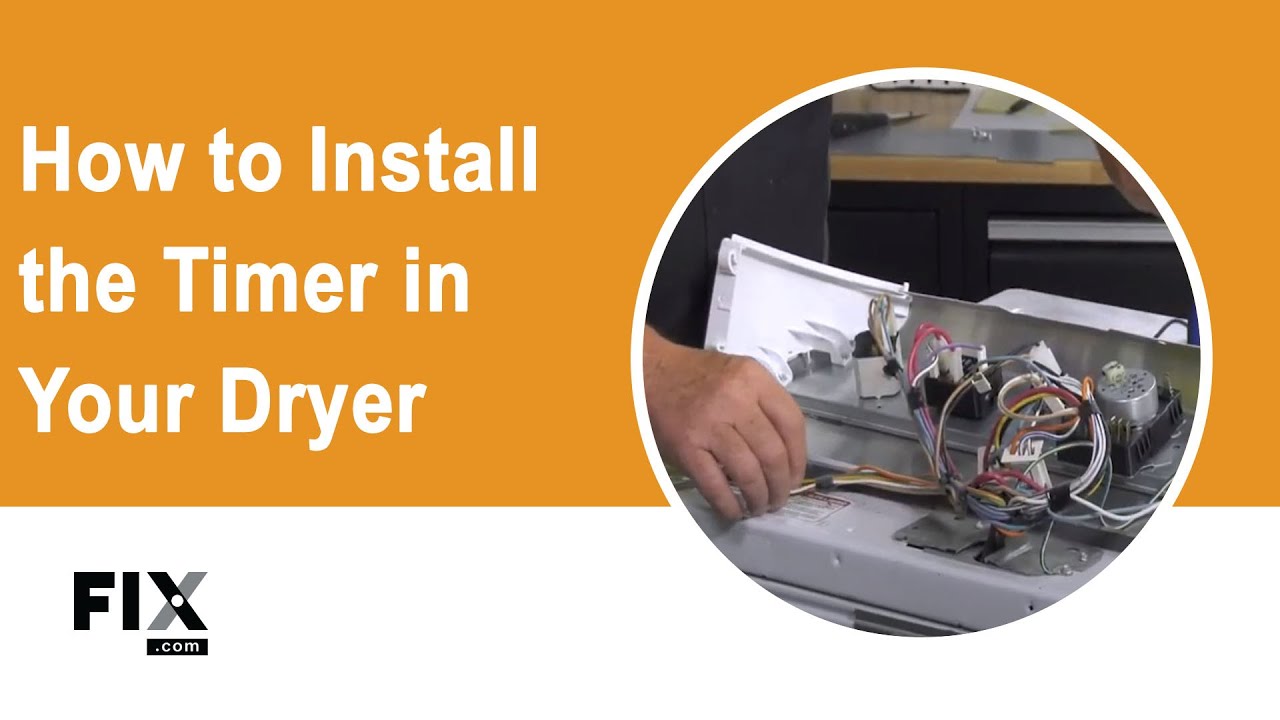
How to Install a New Timer
- With the wire connectors already disconnected, remove any mounting screws or clips that are holding the timer in place.
- Pull out the timer and discard it.
- Place your new timer inside the console and plug in the wire harnesses.
- Reinstall the mounting screws or clips that secure it in place.
- Fit your console back on to the machine.
- You can now plug in your machine, and your repair is done.
Go To Main Page: Noisy