


How to Fix the Door Switch for a Dryer That Has A Burned Out or Damaged Light Bulb
The door switch ensures that the dryer cannot run while the door is open. This prevents items from flying out of the dryer drum and potentially causing injury or damage to the dryer itself. A dryer door switch that is damaged or experiencing electrical issues can prevent the light from turning on or off. For example, if the switch is stuck in the open position, it may not turn on the light at all, even when the door is open. And if the switch is stuck in the closed position, it may keep the light always on, even when the door is closed.
To determine if the door switch is causing your dryer light to not work, visually inspect the switch for signs of physical damage or try testing the switch with a multimeter to check for any power supply issues. If the switch is visibly damaged or does not show continuity when tested with a multimeter, then you will need to replace it.
What is a Door Switch?
A dryer door switch is a safety component designed to prevent injury or damage from occurring if someone were to accidentally open the door while the dryer is in use. It is responsible for turning off the dryer’s light when the door is closed, which prevents the light from staying on when the dryer is in use and potentially causing a fire hazard.
It is also responsible for turning off the dryer’s drum and heating elements when the door is opened. The switch is typically a small plastic or metal piece. When the door is closed, the switch is engaged, allowing the dryer to operate normally. However, when the door is opened, the switch is released, and the dryer's electrical components are automatically shut off.
Where is the Door Switch Located?
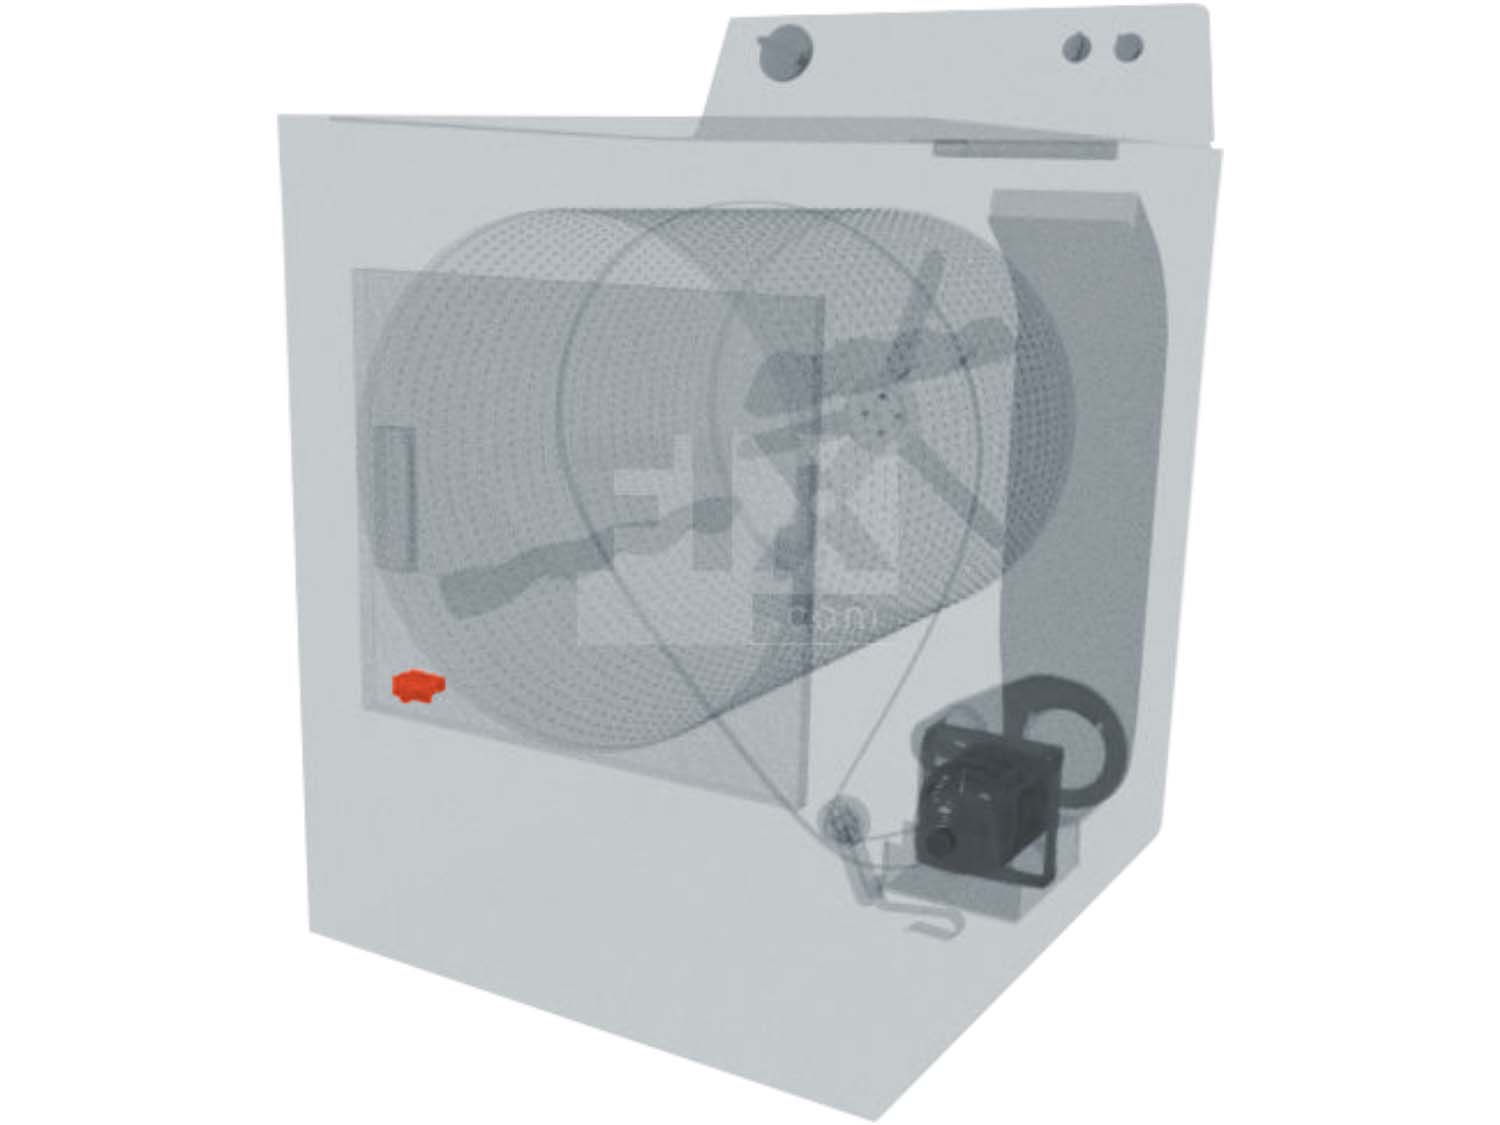
The door switch is located near the dryer door latch mechanism. It is typically located on the front panel of the dryer, near the door hinge.
General Location of the Door Switch in a Dryer
How to Access, Remove, and Inspect the Door Switch in a Dryer
- Disconnect the dryer from the power supply for your safety.
- Depending on your model, you may need to lift the top panel of the dryer to access the door switch.
- Carefully disconnect the electrical wires from the switch terminals by pulling apart the harnesses.
- Open the dryer door and locate the switch.
- Remove the screws that hold the door switch in place and pull the switch out of the dryer.
- Inspect the door switch for signs of damage or general wear. If any damage is present, the switch will need to be replaced.
- If no damage is present, you will need to test the switch for continuity.
How to Test a Door Switch
- Take your multimeter and set the meter to the “continuity” or “ohms” setting.
- Touch one probe of the multimeter to one of the switch terminals and the other probe to the other terminal. You should see a reading of zero or near-zero ohms, which indicates that the switch is closed.
- Close the dryer door to engage the switch and again touch each probe to the switch terminals. Check to see if the reading is in the correct range.
- Open the dryer door to disengage the switch, and again, touch each probe to the switch terminals to test for continuity with the switch in the open position. You should see an “open” or “infinite” reading, indicating that the circuit is not complete, and the switch is open.
- If you do not get a reading of zero or near-zero ohms when the switch is closed, or if you get a reading of zero or near-zero ohms when the switch is open, then the switch is faulty and needs to be replaced.
How to Install a New Door Switch
- With the wire harness disconnected, open the dryer door at the front of the machine to remove the screws/tabs holding the switch in place.
- Pull the old door switch out and discard it.
- Take your new door switch with the tab facing the front and place it in position before securing it.
- Reconnect the wire harness to the new switch.
- Place the main top back, secure the lint housing and reinsert the lint screen.
- Plug in your machine and your repair is complete!
Next: Troubleshooting the Bulb Socket
Go To Main Page: Light Not Working