


How to Fix a Spider Arm for a Washer That is Noisy and Leave Marks on Clothes
If you heard an extremely loud “bang” come from your front-load washer, it is possible that your spider arm just broke. The spider arm is prone to corrosion, and if an arm breaks, your wash tub will no longer be supported or stabilized. You won’t be able to safely operate your washer if the spider arm has failed. You can use the information on this page to help you determine if your spider arm is damaged, however a repair of this magnitude will likely require a professional.
What is a Spider Arm and Where is it Located?
The spider arm or basket spider is found on the shaft mounted to the tub basket of a front load washer. There are three arms which are attached to the basket for support and stabilization, and the rotor and stator assembly are found in front of the spider. Some have a large pulley attached that the belt from the motor turns.
General Location of the Spider Arm in a Washer

What Type of Noise Can You Expect?
These spider arms are susceptible to corrosion, and when this happens the arms can break off. When the spider breaks, it can cause a very loud noise.
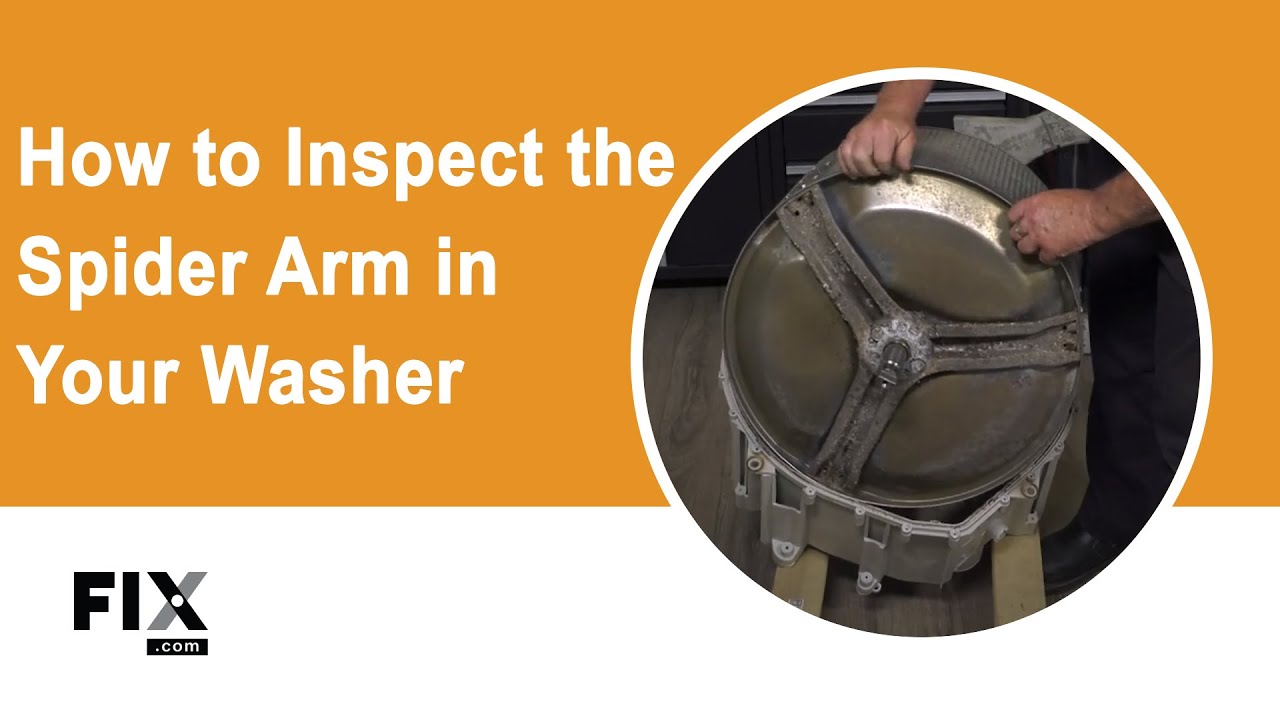
How to Access, Remove, and Inspect the Spider Arm in a Washing Machine
- You will need to disconnect the power and water supply to the washer and pull it out from the wall to access the back panel.
- Next is to remove the back panel from the washer.
- Then you will need to remove the bolt that holds the rotor in place and remove the rotor. Once the rotor is out of the way, you have access to the stator.
- You will need to remove the mounting bolts, the wire harness, and the rotor positioning sensor from the stator. Remove the stator or pulley then the outer tub halves need to be separated to access the spider arm.
- Inspect the spider arm for signs of corrosion and cracks. If present, the arm will need to be replaced so no further damage is done to your machine. It is wise to change the seal where the shaft goes through the outer tub at this time.
How to Install a New Spider Arm
On some models, the spider arm is part of the tub basket and is only sold as a single unit. With others you can replace just the arm without swapping out the entire tub or basket. This type of repair is major, and generally requires a lot of work, since you'll need to take your washer apart to get at and replace this part. It may be that you want to call an appliance technician to carry out this task, which may then involve weighing that cost against the cost of a new machine. However, we have videos that go over the process in detail, and some generalized instructions to help you carry out this repair if you decide you are keen for a challenge, as well as to help you make the decision as to whether it is within your abilities.
- Before you replace trunnion/spider arm, you should also ensure that you change any seals between the arm and the outer tub that might go onto the shaft.
- Position the spider arm onto the base of the unit, sliding it into place and connecting it with either the original bolts from the old trunnion if they are still usable, or new bolts if the old ones are stripped or corroded.
- Attach the stator and outer tub halves that you disconnected as part of your disassembly process.
- Reattach the bolts and wire harness, as well as securing the rotor bolt to the unit.
- Reattache the washer's back panel, congratulations on the completion of an advanced repair!
Next: Troubleshooting the Transmission
Go To Main Page: Noisy & Marks Left on Clothes